📍 Location & Trail Information
Dream Lake is one of the most beautiful and popular photographic destinations in Rocky Mountain National Park. Located in the Bear Lake area, the lake lies beneath the rugged peaks of Hallett Peak and Flattop Mountain, providing a magnificent backdrop for landscape photography.
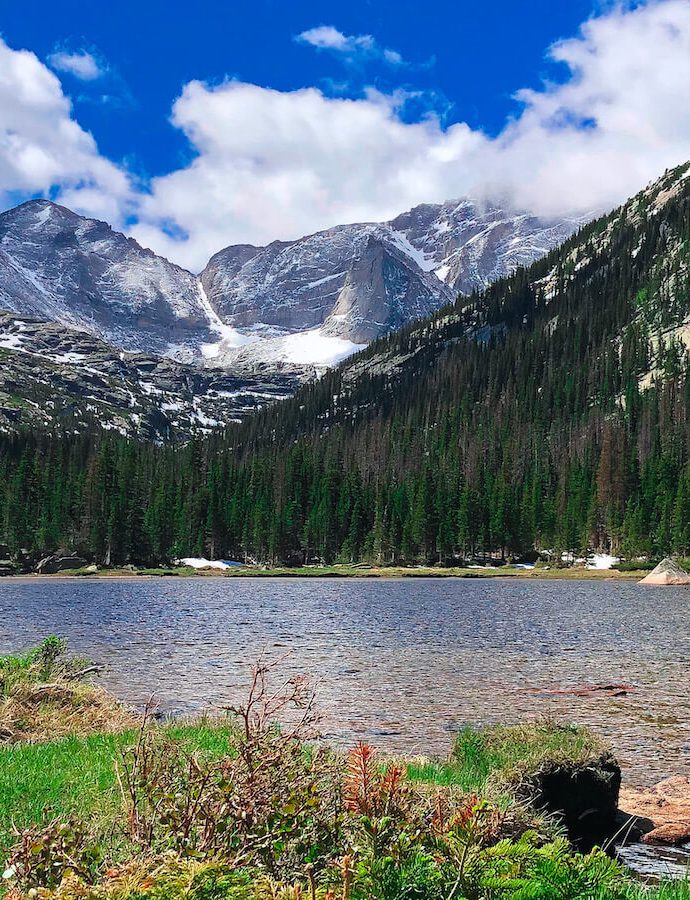
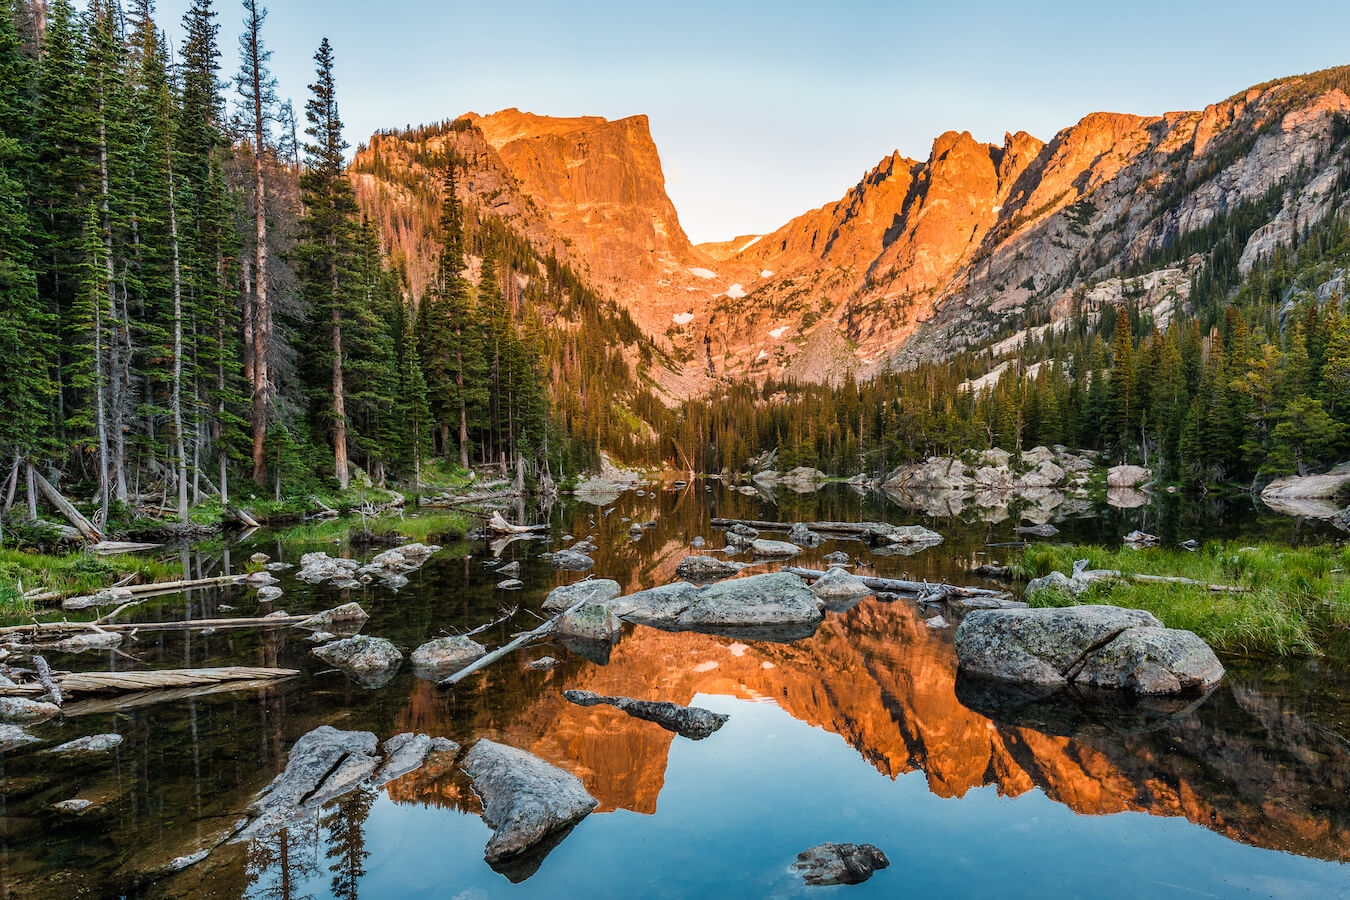
During the summer months, the lake is surrounded by evergreen forests and rocky mountain slopes, with reflections of the surrounding peaks often visible on calm mornings.
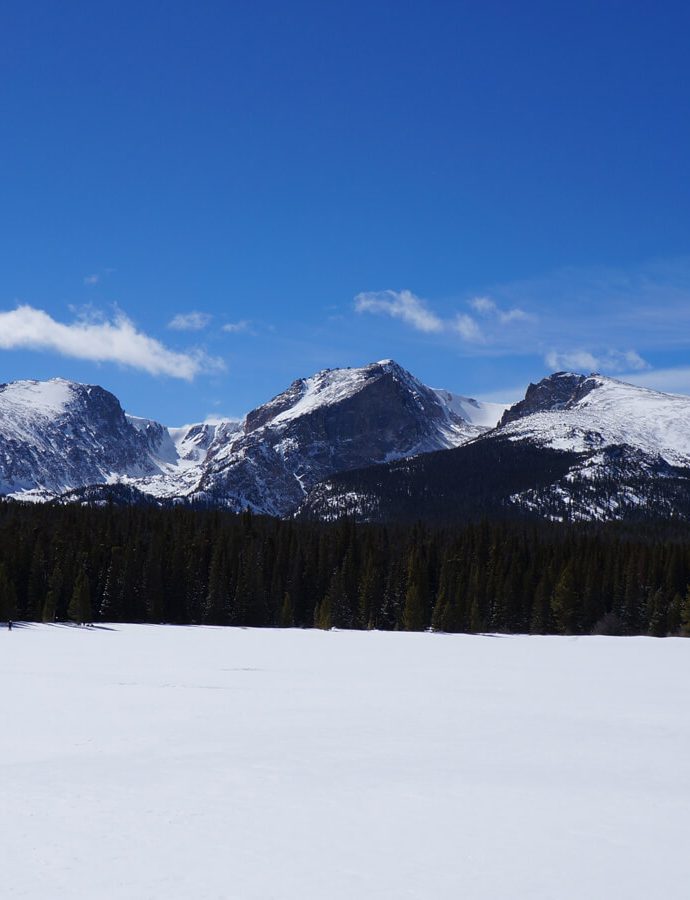
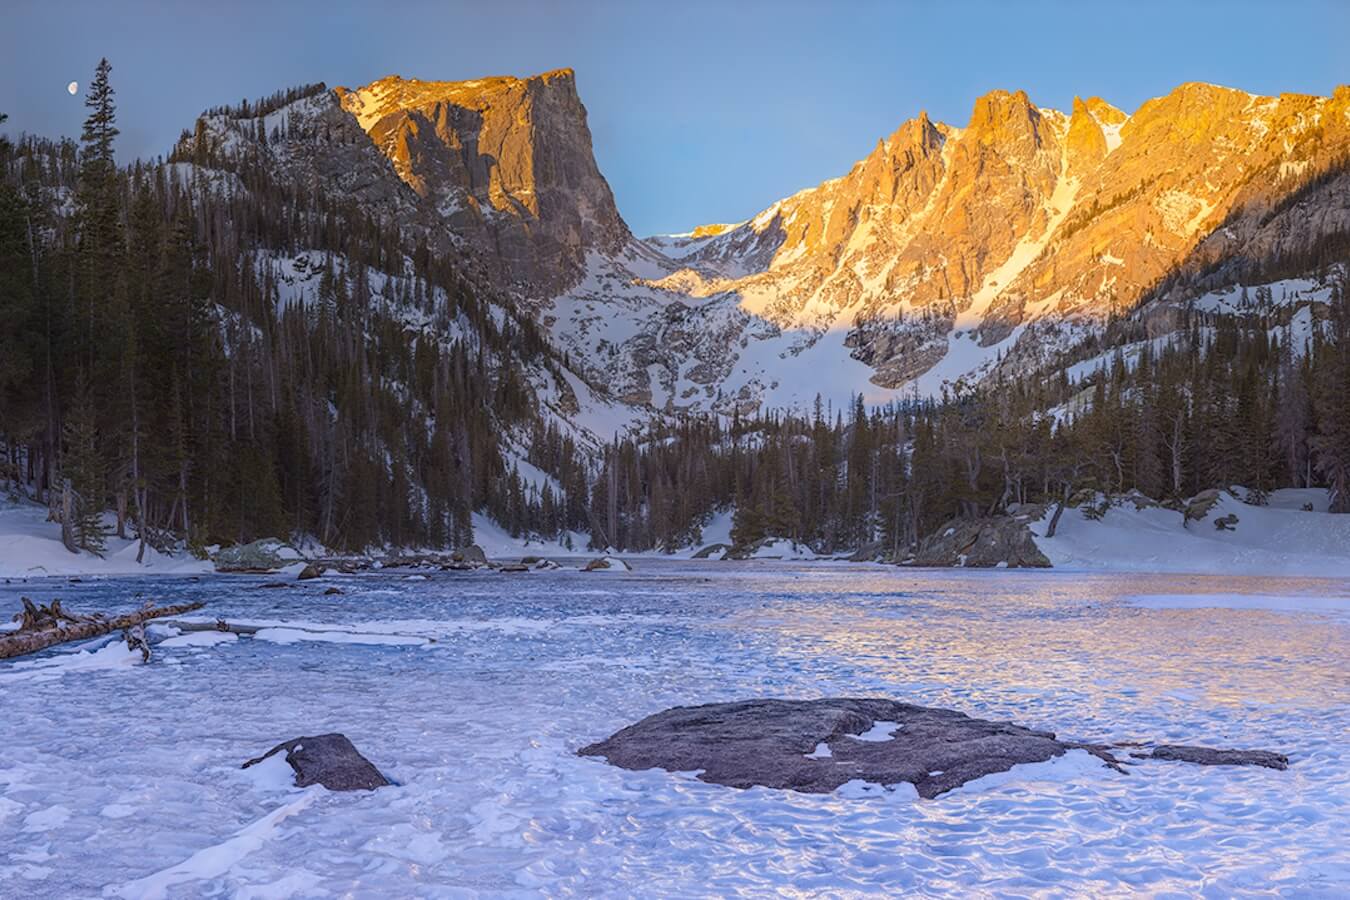
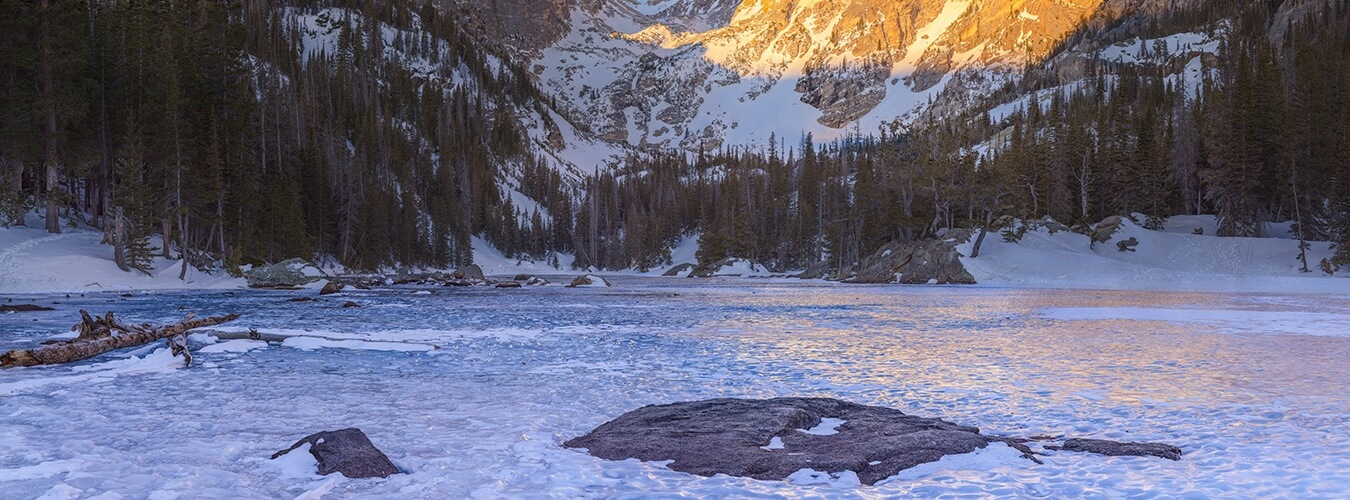
During winter, however, Dream Lake takes on an entirely different appearance. The lake freezes over, and the extremely strong winds that frequently sweep through the valley can create some remarkable ice formations. These unusual wind-sculpted patterns on the frozen lake were the primary reason for my February 2026 visit and the subject of my above photograph, Frozen In Time.
Accessing Dream Lake in Rocky Mountain National Park
Dream Lake is reached from the Bear Lake Trailhead, approximately 9.2 miles south of the junction of Bear Lake Road and Trail Ridge Road (US Highway 36). From Estes Park, enter Rocky Mountain National Park through the Beaver Meadows Entrance, continue west on Highway 36, and turn left onto Bear Lake Road. Follow Bear Lake Road to the large parking area at the end of the road.
The Bear Lake parking lot is extremely popular and frequently fills early, particularly during the summer tourist season. During the warmer months, the park operates a shuttle system serving the Bear Lake corridor. During winter, shuttle service is not available, so you will need to drive to the trailhead.
As of this writing, there is a timed-entry reservation system required to enter Rocky Mountain National Park and the Bear Lake corridor. If you aren’t able to get a reservation during the peak season, you will either need a campsite reservation in the Bear Lake area or you will need to arrive before 5 am or after 6 pm.
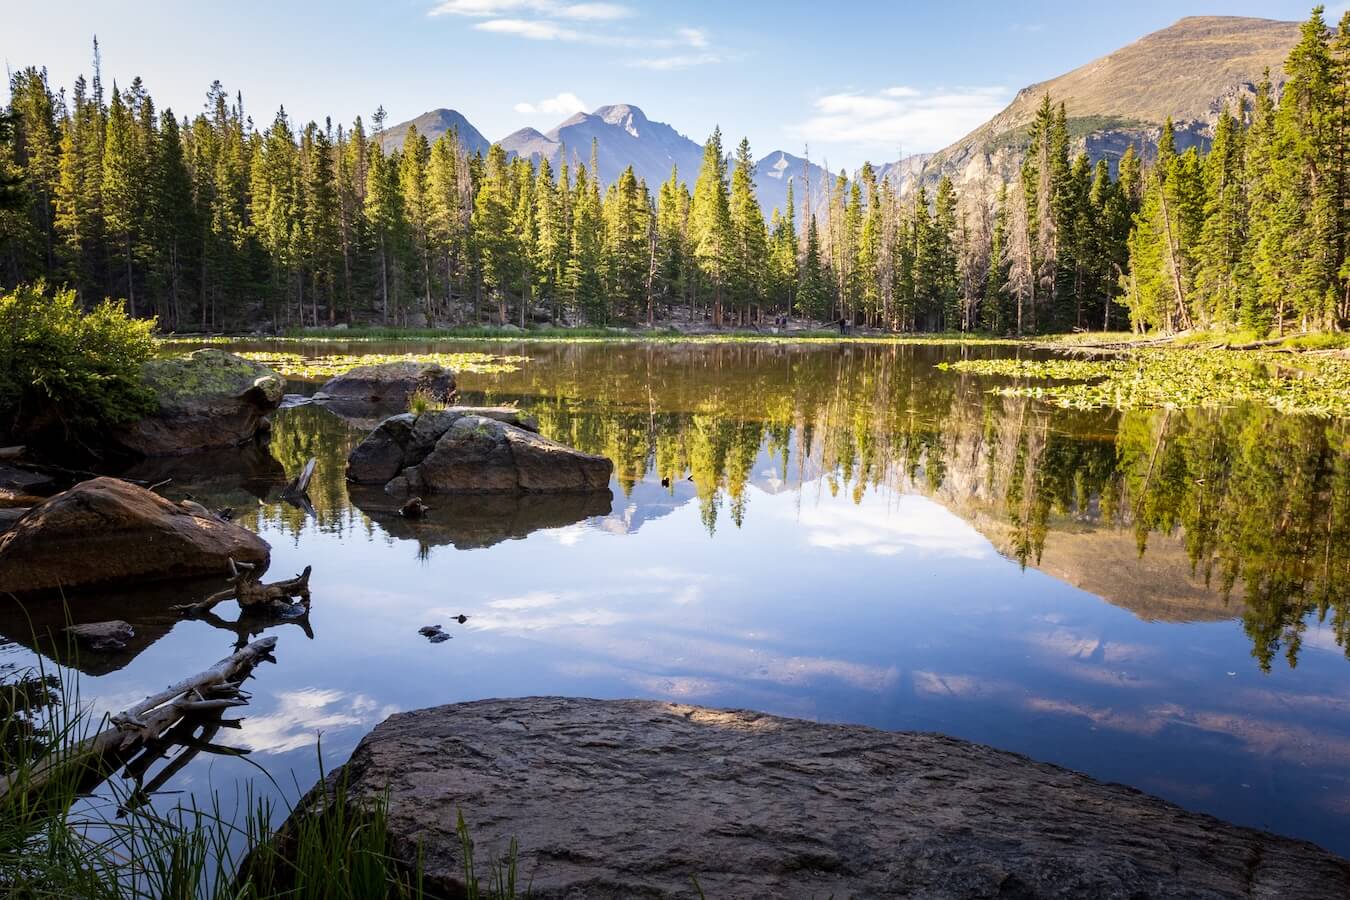
The trail to Dream Lake begins at the Bear Lake Trailhead. Follow the signs toward Nymph Lake, Dream Lake, and Emerald Lake. The first portion of the trail climbs through a forest of spruce and fir trees before reaching Nymph Lake, approximately half a mile from the trailhead.
From Nymph Lake, the trail continues uphill through forested terrain and occasional openings that provide views of the surrounding mountains.
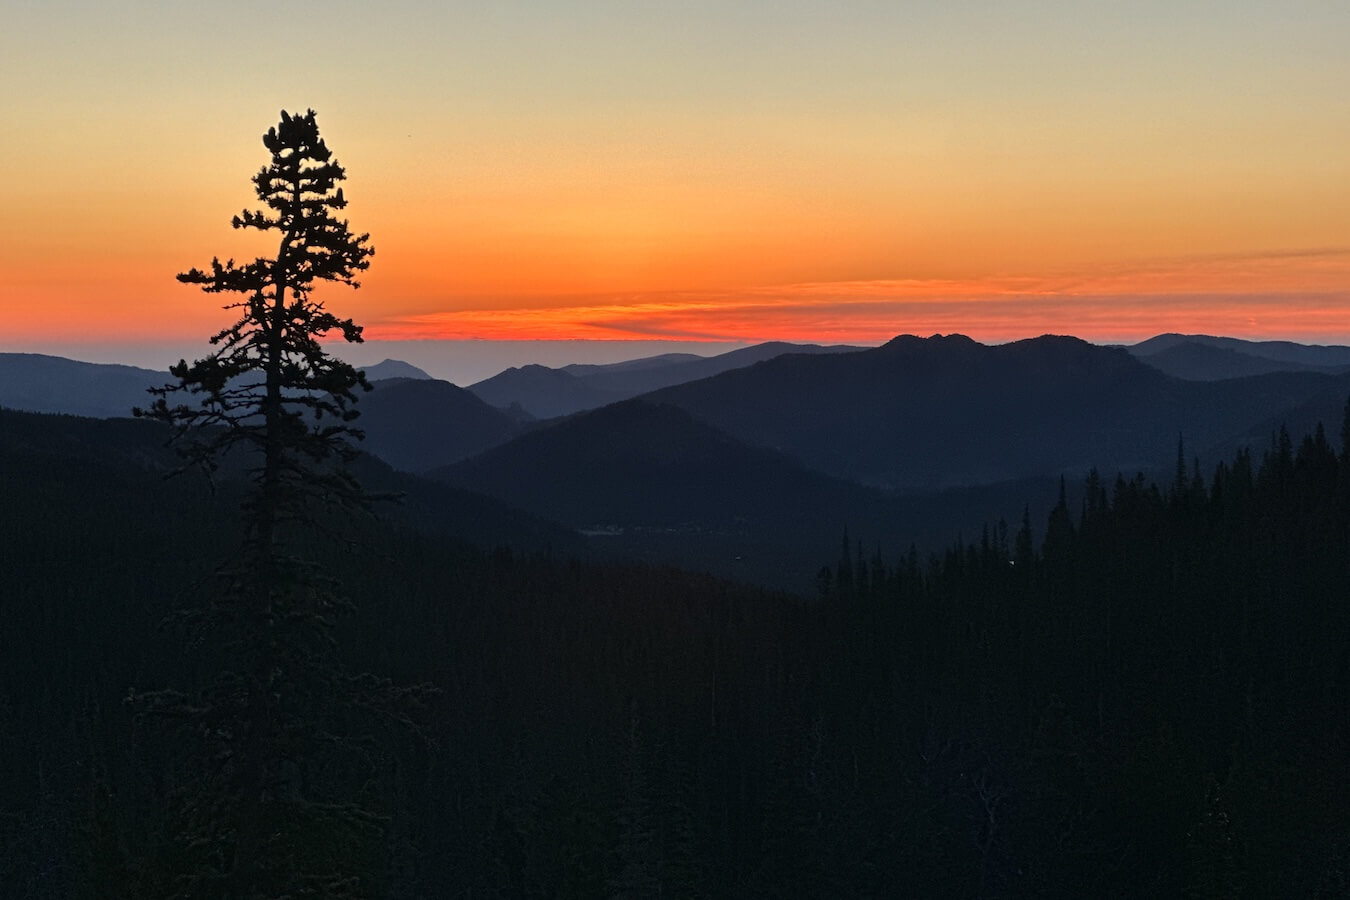
Right before you reach Dream Lake (approximately 1.1 miles from the trailhead), you will have two options. There is a path that goes alongside Dream Lake to the right and one that goes to the left towards Lake Haiyaha. Follow the path towards Dream Lake and then work your way down to the lake shore.
The most famous view of Dream Lake is located down by the shore on the east side of the lake just after the trail splits. The GPS (DD) coordinates are approximately around: 40.309736, -105.656774.
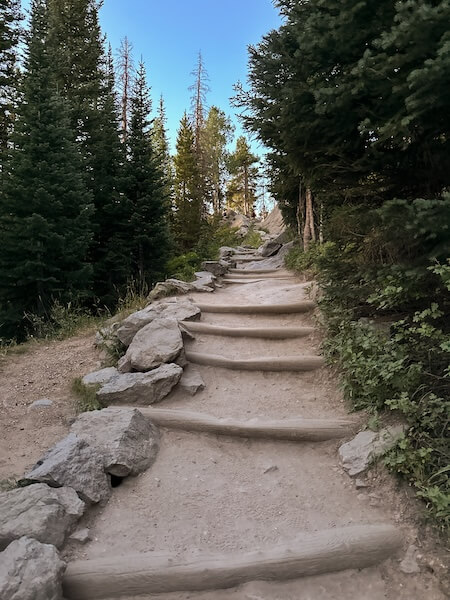
Hiking Trail Conditions for Dream Lake
During the summer, the hike to Dream Lake is considered moderate. Although the distance is relatively short, the trail gains more than 400 feet in elevation, and the high altitude can make the climb tiring for visitors who are not accustomed to mountain hiking. The trail includes rocky sections, steps, and uneven surfaces. Carrying a camera, tripod, and additional lenses adds to the effort.
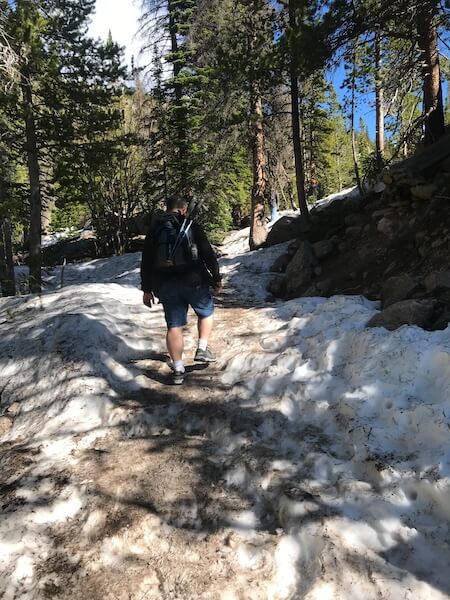
During winter and late spring, the trail is usually covered with packed snow and ice. Traction devices are strongly recommended, and snowshoes may be necessary following heavy snowfall. Winter visitors should be prepared for extremely cold temperatures, strong winds, and rapidly changing weather conditions. The exposed areas around Dream Lake can experience powerful gusts, making conditions considerably more difficult than the relatively sheltered portions of the trail. If you’re planning to photograph the lake in winter, allow additional time for the hike and be prepared for conditions that may be much more demanding than the distance would suggest.
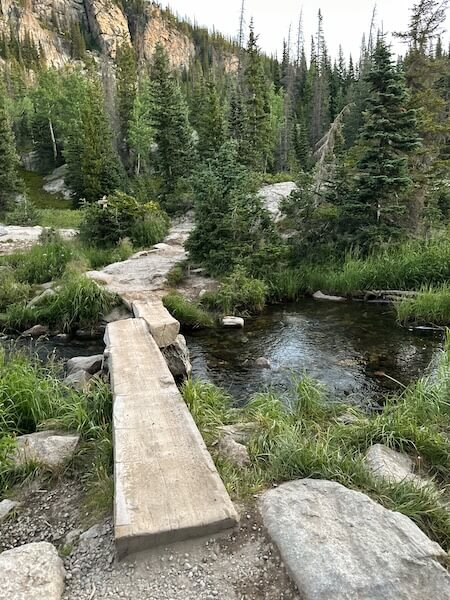
During my February 2026 visit, I wore microspikes and used hiking poles for additional stability on the snow-packed and icy trail. Both proved useful while hiking to Dream Lake in winter conditions. I would strongly recommend carrying appropriate traction equipment and hiking poles when making this trip during the winter months, particularly if you’re also carrying a camera, tripod, and other photographic equipment.
Best Time of Year to Visit Dream Lake
Dream Lake offers excellent photographic opportunities throughout the year.
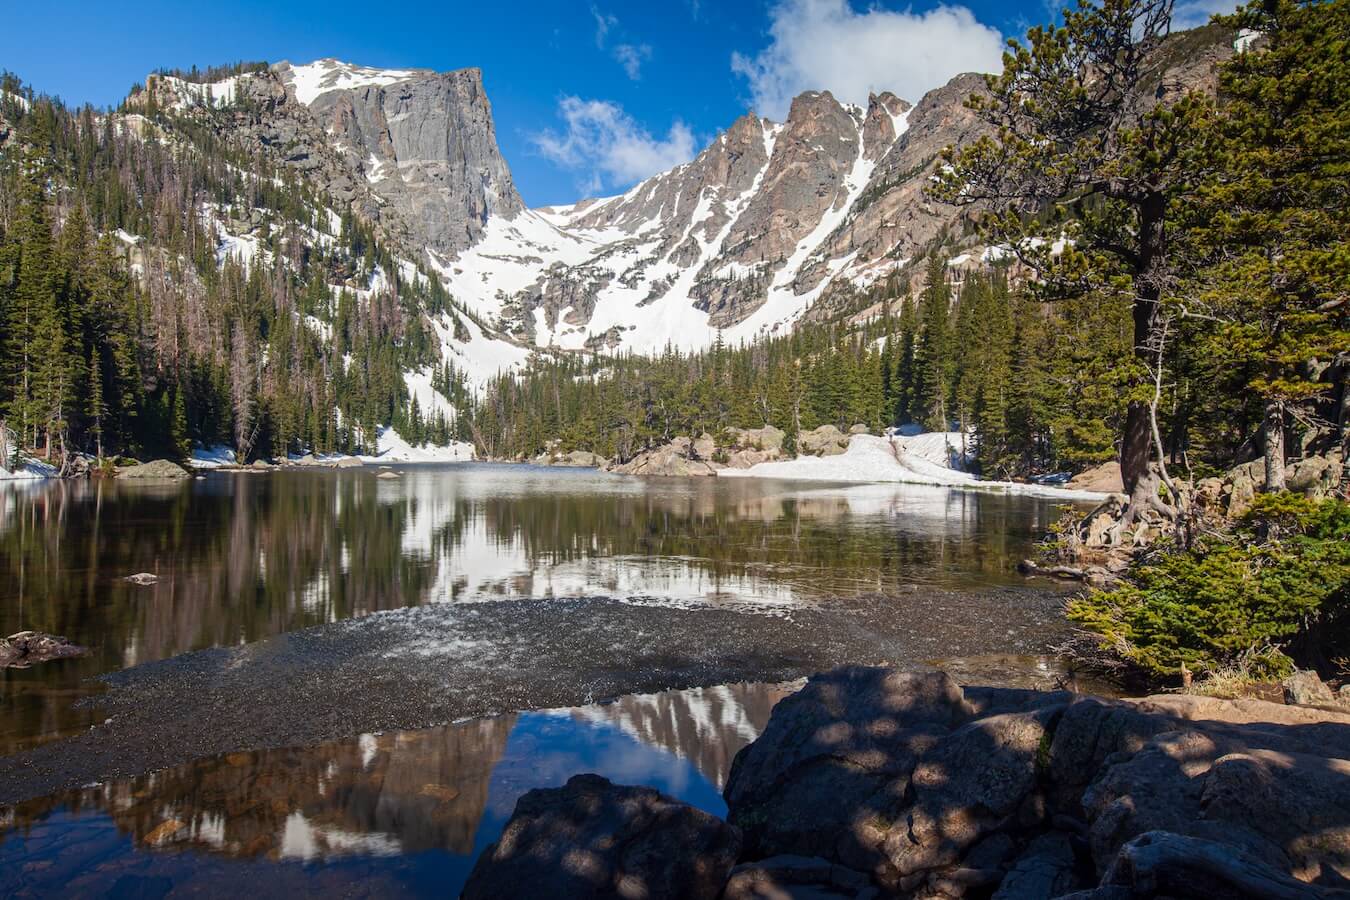
Spring: Spring is a beautiful time to visit Dream Lake. As in winter, be prepared for snow on the trail and on the mountain peaks. You will have the spring melt which will provide running water in some areas, slushy conditions in others, and frozen snow pack in others.
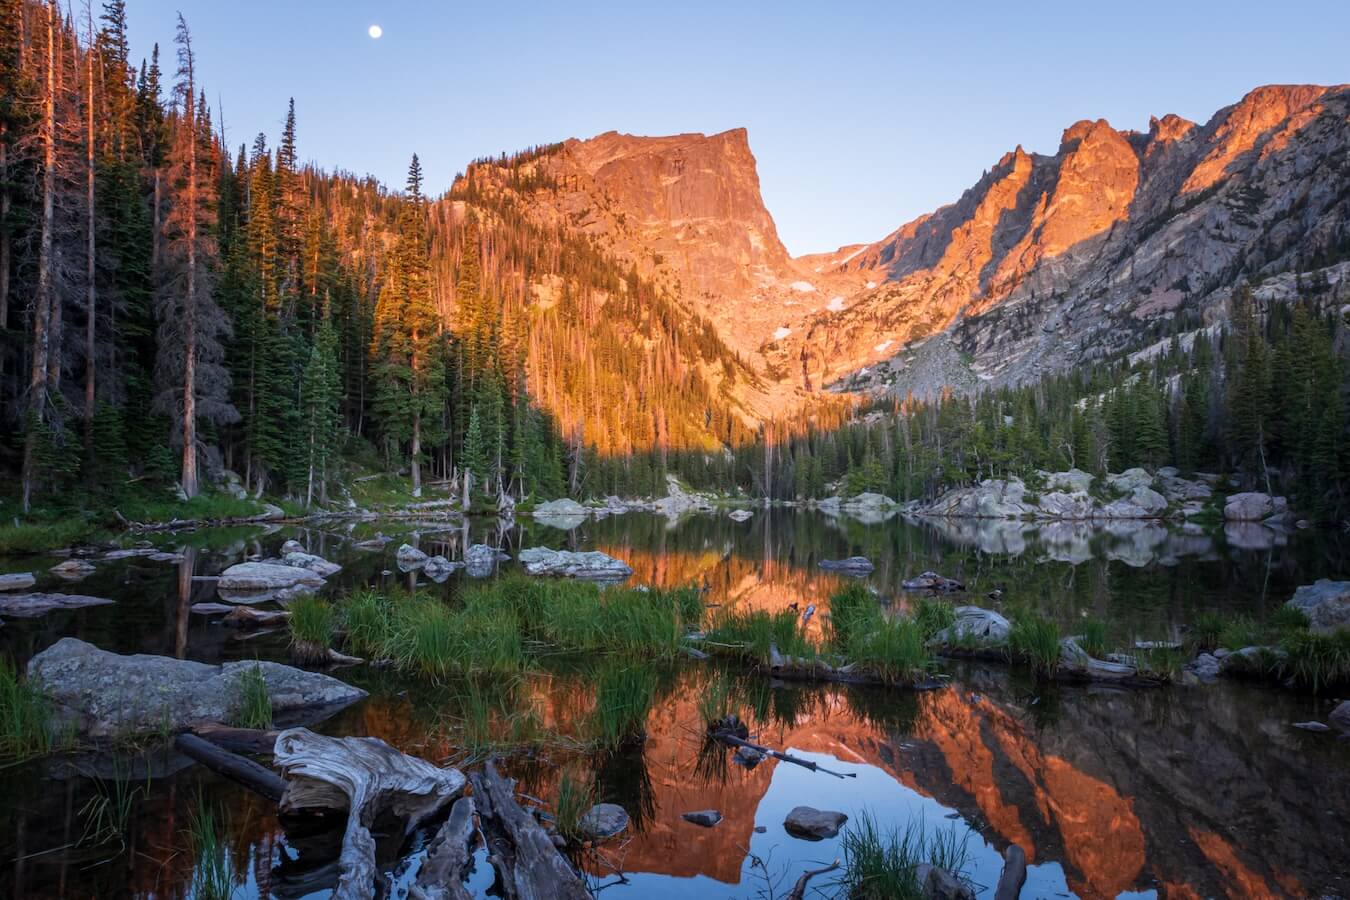
Summer: Early morning is generally the best time for reflections on the lake before afternoon winds begin disturbing the water. Wildflowers and lush green vegetation provide additional photographic interest along the trail.
Fall: The surrounding landscape begins transitioning toward winter, and fresh snow on the mountain peaks can provide an attractive contrast with the remaining vegetation.
Winter: The lake freezes, and the combination of snow, ice, strong winds, and mountain scenery creates opportunities for photographs that are impossible during the warmer months.
In addition to having microspikes and hiking poles, a good hiking map or GPS tracker, like the Garmin inReach or the Garmin inReach Mini is also recommended as the trail can be difficult to follow at times when there is snow on the ground. Be aware that snow in the Rocky Mountains often doesn’t melt until July.
For photographers interested in the unusual frozen wave formations, midwinter is generally the best time to visit. The patterns develop under particular combinations of cold temperatures, dry air, and strong winds, so they may not be equally prominent throughout the season.
Photography Tips for Dream Lake
Dream Lake offers a variety of photographic opportunities, but there are several things I would recommend considering before making the trip.
Plan for early morning light. The surrounding peaks can be especially attractive when the first sunlight reaches their upper slopes. During summer, early morning also provides the best opportunity for reflections before the winds increase.
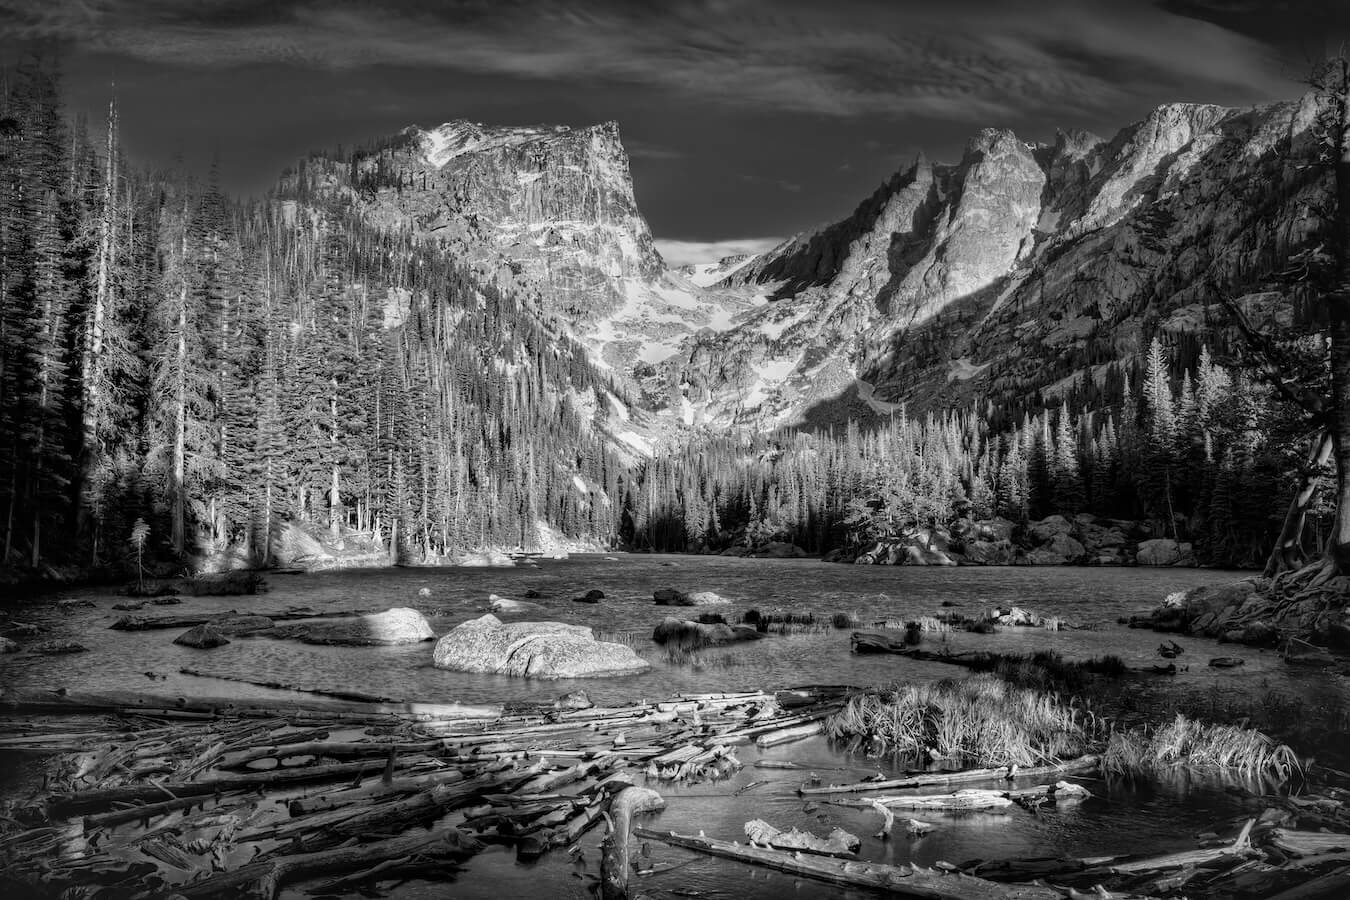
Include foreground interest. Rocks, shoreline features, reflections, and, during winter, the unusual ice formations can help create a sense of depth in your photographs.
Be prepared for strong winds. Dream Lake is notorious for powerful winter winds. A sturdy tripod is important, particularly when using longer focal lengths. Be careful when setting up equipment on exposed ice.
Consider your depth of field. When photographing ice formations close to the camera with distant mountains in the background, focus stacking can help maintain sharpness throughout the image.
Protect your equipment. Cold temperatures can significantly reduce battery performance. Carry spare batteries in an inside pocket where they will remain warm. Gloves that allow you to operate your camera controls are also extremely helpful.
Allow plenty of time. Even though the hike is relatively short, winter conditions and the time required to set up equipment can make this a much longer outing than expected.
Elevation and Weather Conditions
Dream Lake is located at approximately 9,900 feet above sea level. Even during summer, temperatures can be considerably cooler than in Estes Park. Afternoon thunderstorms are common during the warmer months, and photographers should plan to be off exposed terrain before storms develop.
During winter, temperatures can drop well below freezing, and wind chill can make conditions particularly severe. The trail can also cross areas exposed to avalanche hazards. Before attempting a winter hike, check current conditions and avoid hazardous terrain. Never assume that a frozen lake is safe to walk on simply because other visitors have crossed it. Winter photography at Dream Lake can be extremely rewarding, but proper preparation and attention to safety are essential.
ADVERTISEMENT
The Frozen Waves of Dream Lake
One of the most fascinating winter phenomena at Dream Lake is the formation of what appear to be waves frozen in place across the lake’s surface.
I had heard about these formations for years and had wanted to photograph them, but the thought of hiking up to Dream Lake in the dead of winter wasn’t exactly my idea of a good time.
The formations develop as extremely cold, dry winds sweep across the frozen lake. A process known as sublimation occurs when solid ice changes directly into water vapor without first becoming liquid water.
The strong winds and turbulent air currents gradually erode and reshape the ice surface, producing intricate ridges, grooves, and wave-like patterns. These effects can be particularly pronounced near rocks, logs, and other objects that disrupt the airflow.
The resulting formations can resemble ocean waves that have suddenly been frozen in place.
For a photographer, these patterns provide extraordinary foreground interest, particularly when combined with the rugged mountain peaks rising behind the lake.
My February 2026 Visit
For several weeks, photographers had been posting photographs of the frozen waves at Dream Lake on social media. I had been following their work with considerable interest.
Then a fellow photographer, one of the students I had been teaching gigapixel photography, asked if I would accompany him on a winter hike to Dream Lake.
So, on February 6, 2026, just six days before my 75th birthday, I finally made the trip.
Being a gigapixel panoramic photographer, I wasn’t interested in simply taking another conventional photograph of the frozen waves. I wanted to capture the scene with enough resolution to preserve the intricate details of the ice formations while including the magnificent mountain scenery beyond.
We arrived early enough to photograph the scene as the morning light began illuminating the surrounding peaks.
The frozen lake was covered with beautiful sculpted ice formations. The ridges and grooves created by the winter winds provided a remarkable foreground, while the mountains formed a dramatic backdrop.
The result was my photograph, Frozen In Time.
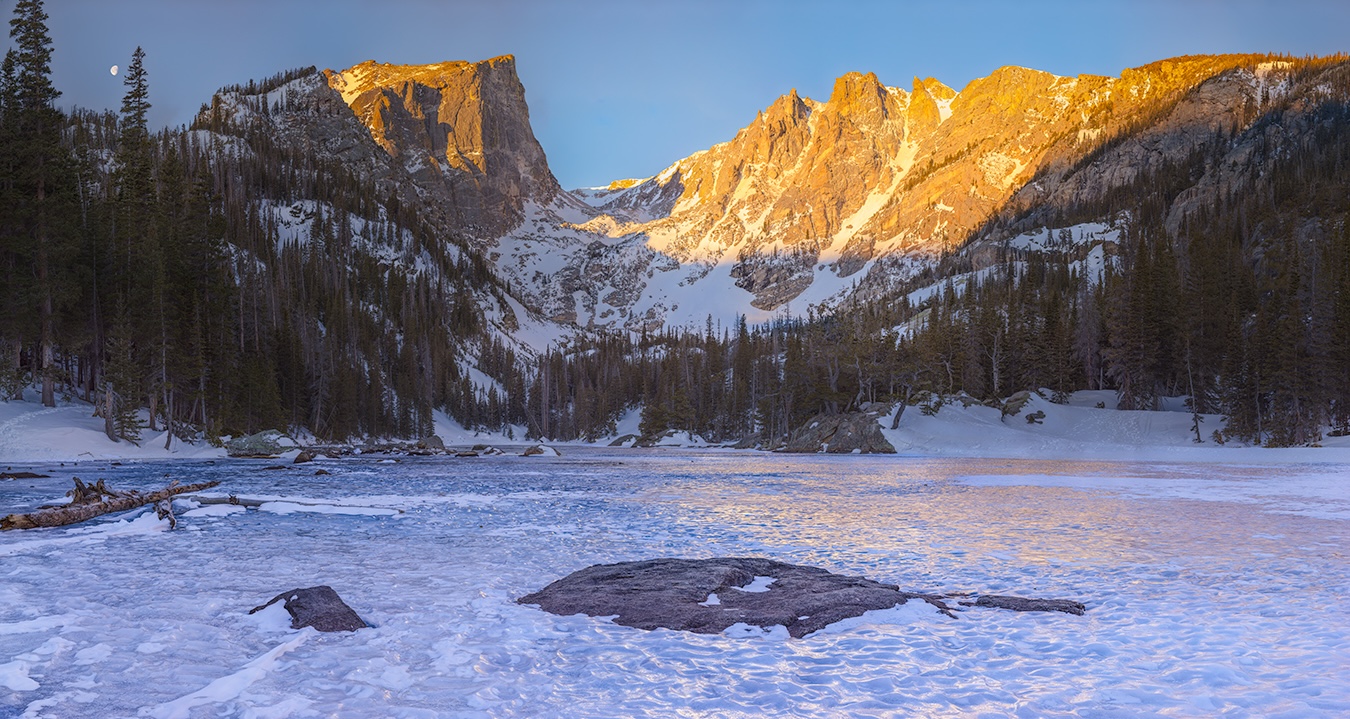
Photographing Frozen In Time
For this photograph, I used my Canon R5 with a Canon 100–400mm lens mounted on a Nodal Ninja M2 panoramic head and carbon fiber tripod.
My camera settings were:
- Focal Length: 300mm
- Aperture: f/11
- Shutter Speed: 1/100 second
- ISO: 400
- Date: February 6, 2026
- Photographing Time: 7:18 a.m. to 8:05 a.m.
I positioned the camera approximately 2½ feet above the frozen lake surface. The nearest point I needed to maintain in sharp focus was approximately 8 feet from the camera.
Because I was using a 300mm focal length, maintaining sharp focus from the nearby ice formations to the distant mountains required extensive focus bracketing.
At each camera position, I captured multiple photographs focused at different distances. These images were later combined using focus-stacking software to produce a single image with extended depth of field.
The entire panorama required 7,090 individual focus-bracketed photographs.
These were processed into 225 focus-stacked images, arranged in a grid of 9 rows and 25 columns, before being stitched into the completed panorama.
The final image contains approximately 4.63 gigapixels, measuring 93,276 × 49,696 pixels.
At 300 pixels per inch, the photograph contains enough resolution for a print approximately 13 feet 9 inches high by 25 feet 10 inches wide.
The processing workflow involved Adobe Camera Raw, Helicon Focus Pro, PTGui, and Adobe Photoshop.
The enormous resolution makes it possible to examine the intricate patterns in the frozen lake surface while retaining the full mountain landscape.
You can explore the completed photograph using the interactive high-resolution viewer on my website:
Frozen In Time – Abba’s Creations Photography
Closing Remarks
Dream Lake is one of those locations that offers something different with every season. During summer, the lake provides beautiful mountain reflections and attractive alpine scenery. In winter, the frozen lake and surrounding snow-covered peaks create an entirely different photographic experience.
For me, the February 2026 visit was particularly memorable. After years of wanting to photograph the frozen waves, I finally made the winter hike just days before my 75th birthday. The intricate ice formations were everything I had hoped to see, and the resulting Frozen In Time photograph became one of my favorite and most technically demanding panoramic images.
If you’re planning a visit to Dream Lake, take your time and explore the photographic possibilities along the trail as well as at the lake itself. Nymph Lake, the surrounding forest, and the mountain views along the way are all worth photographing. For those wanting to continue farther, the trail extends beyond Dream Lake to Emerald Lake, another outstanding photographic destination.
Whether you visit in the warmth of summer or the depths of winter, Dream Lake is a beautiful destination that deserves a place on your Rocky Mountain National Park photography itinerary.
Happy Travels!
John Freeman, Featured National Park Photographer
Find Your Favorite Location
No matter where you go in Rocky Mountain National Park, be sure to take your time and find your favorite location along the way. If you are lucky, you may even spot some wildlife! Don’t forget to add detailed macro shots, change your perspective, and most importantly have fun.
Before making your trip, consider checking the official Rocky Mountain National Park website or contacting the park’s visitor center for the most up-to-date information on trail conditions, accessibility, and any recent changes. As with any visit to a national park, it’s important to follow park regulations, practice “Leave No Trace” principles, and prioritize safety while exploring this beautiful area.
Want to learn more about Rocky Mountain National Park? Check out these maps, guides & books:
- Rocky Mountain National Park (National Geographic Trails Illustrated Map)
- Rocky Mountain National Park: The Complete Guide: (Color Travel Guide)
- Rocky Mountain National Park: The First 100 Years
- Mystery In Rocky Mountain National Park (National Park Mystery Series)
- Best Easy Day Hikes Rocky Mountain National Park (Best Easy Day Hikes Series)
- Death in Rocky Mountain National Park (Death in the Parks)
- It Happened In Rocky Mountain National Park: Stories of Events and People that Shaped a National Park (It Happened In Series)
Please note, by making purchases through our affiliate links, you are supporting our mission to celebrate and showcase our National Parks and the photographers who frequent them. As an Amazon Associate, National Park Photographer earns from qualifying purchases at no cost to you. We appreciate your support.
References
Want to visit more parks? Check out our complete list of the US National Parks!
Do you want to be featured on National Park Photographer?
Why wait! Contact us today at nationalparkphoto@gmail.com for a chance to be featured as a National Park Photographer!